Part 1: Build your site
- Create a new folder on your computer and name it something related to your website that you can keep
track of. Maybe use your new
domain name! I like to include a version for when I inevitiably re-design my website down the road
(i.e. domain-name_v1).
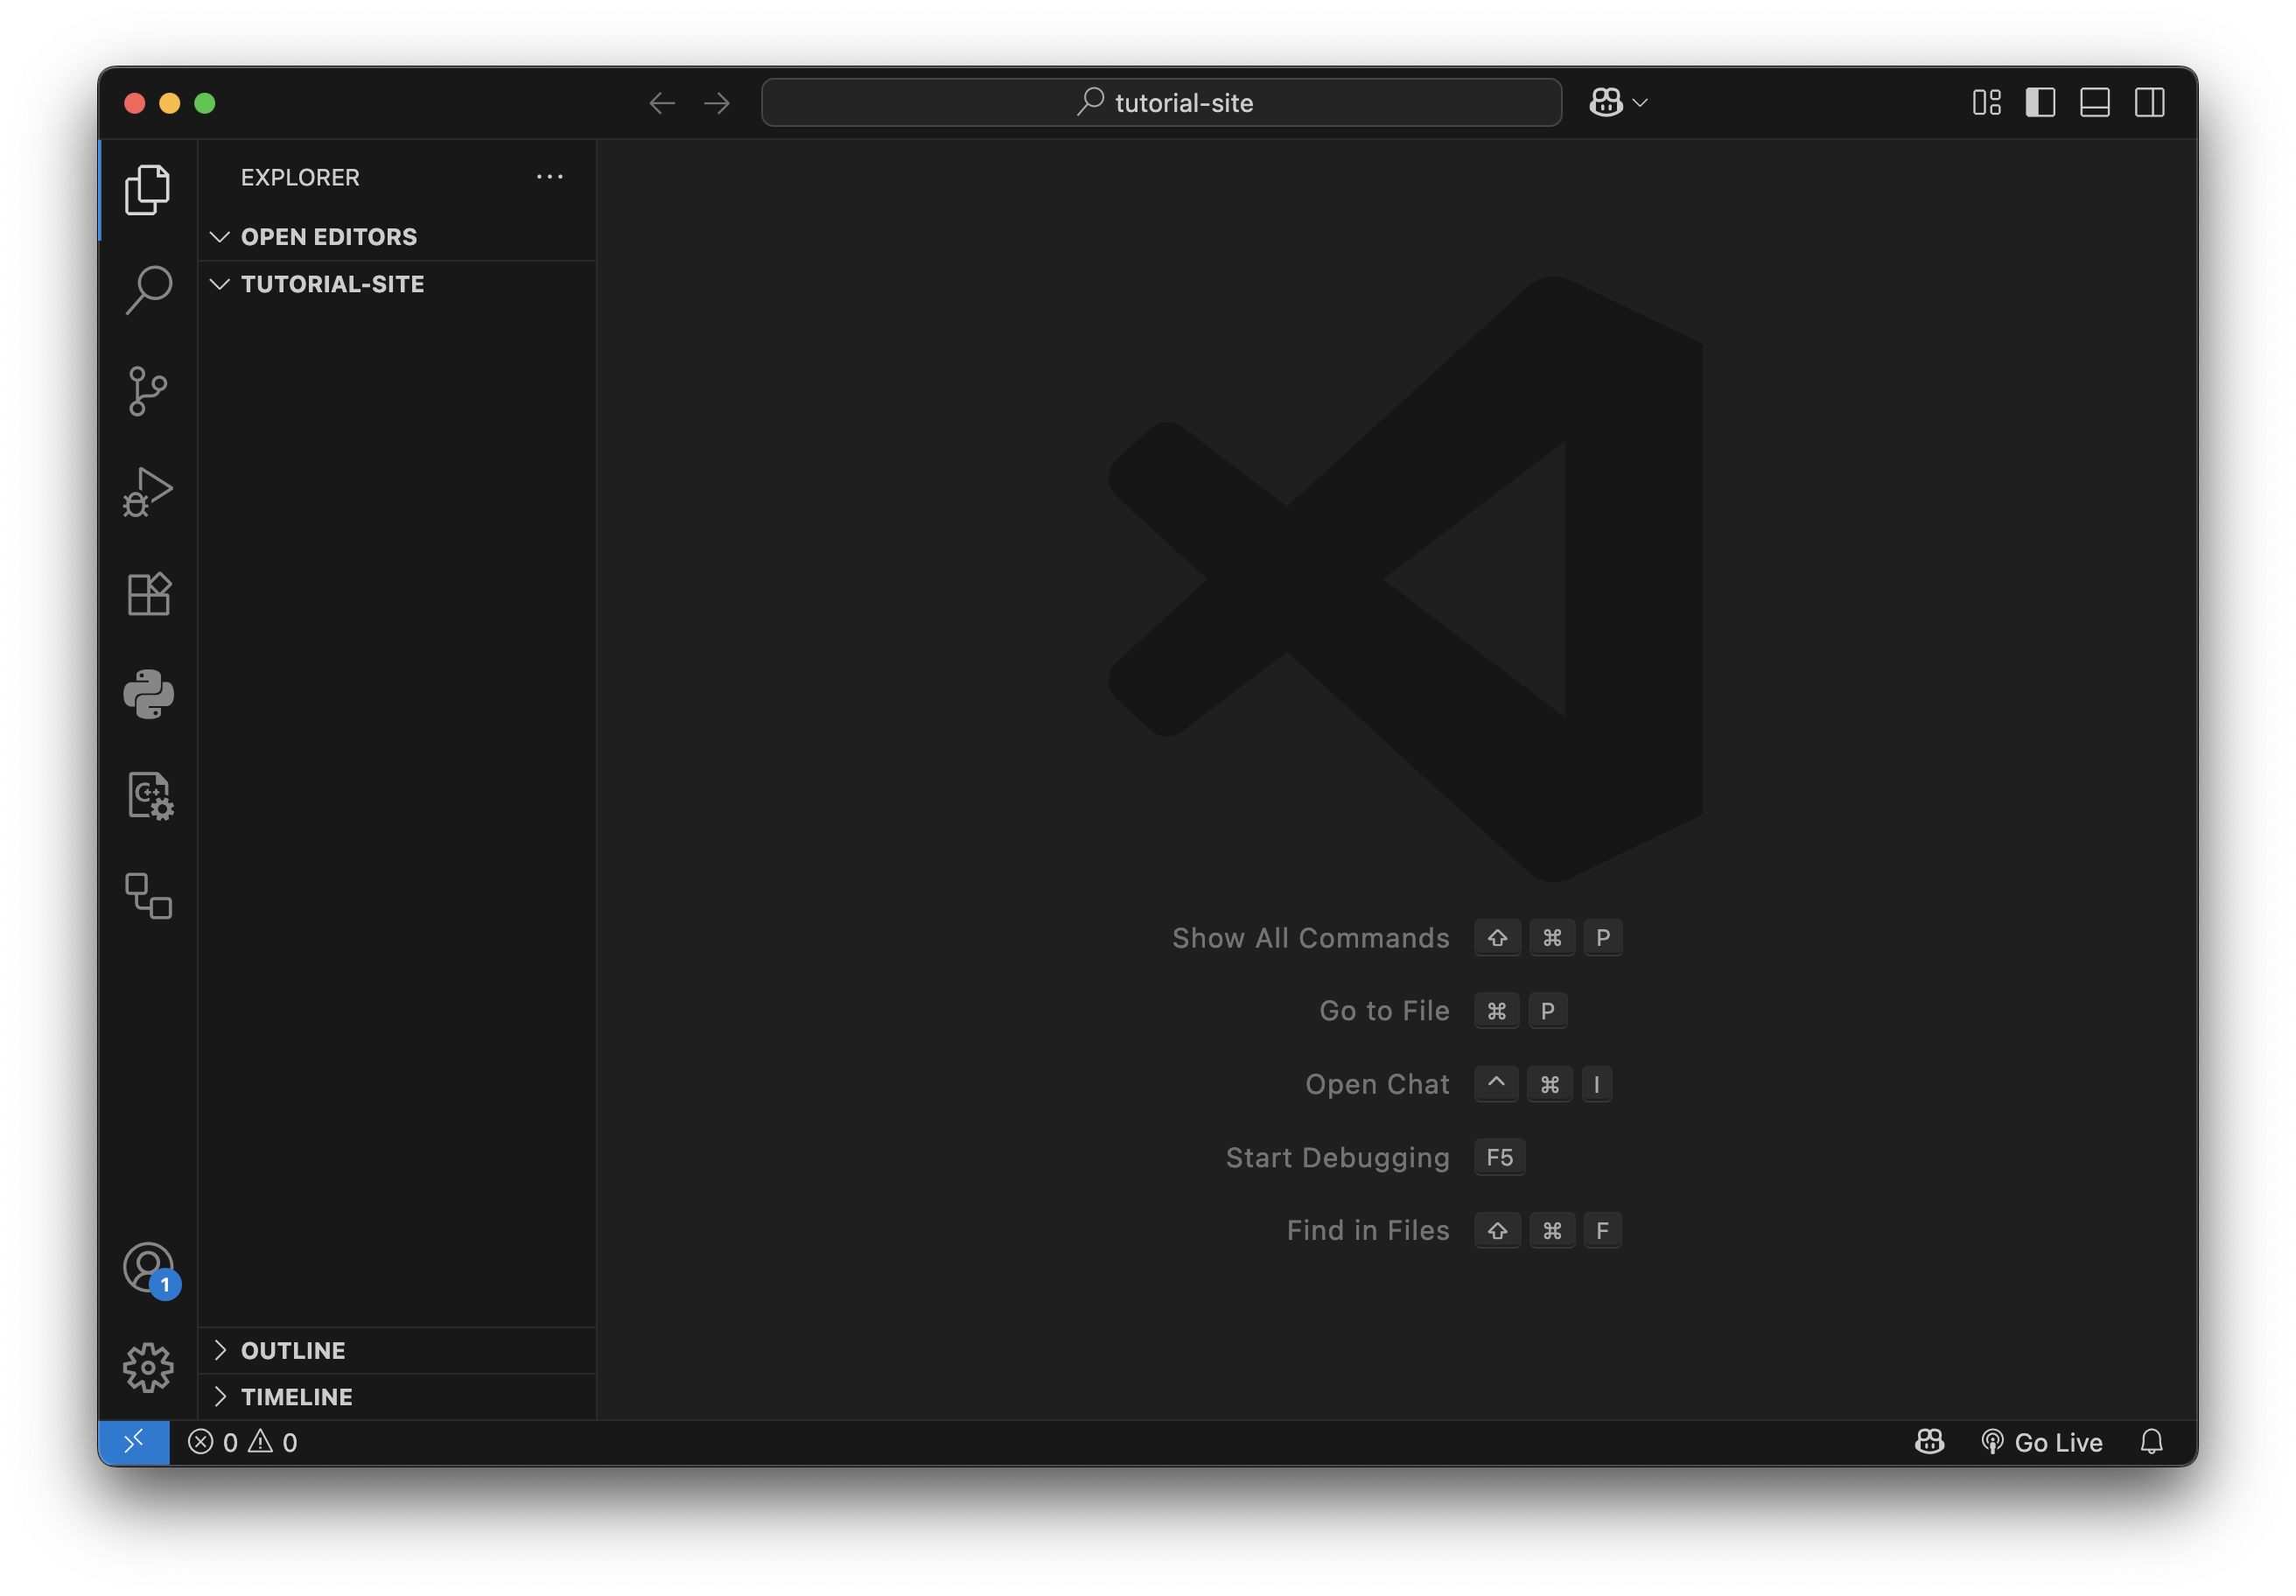
- Open VS Code and open the folder you just created. You will see a "welcome" window which you can
close
out of. You should now see your folder name at the top and in the directory on the left.
- Click inside this left-hand directory so that it outlines blue, then right-click and select "New
File"
and name it
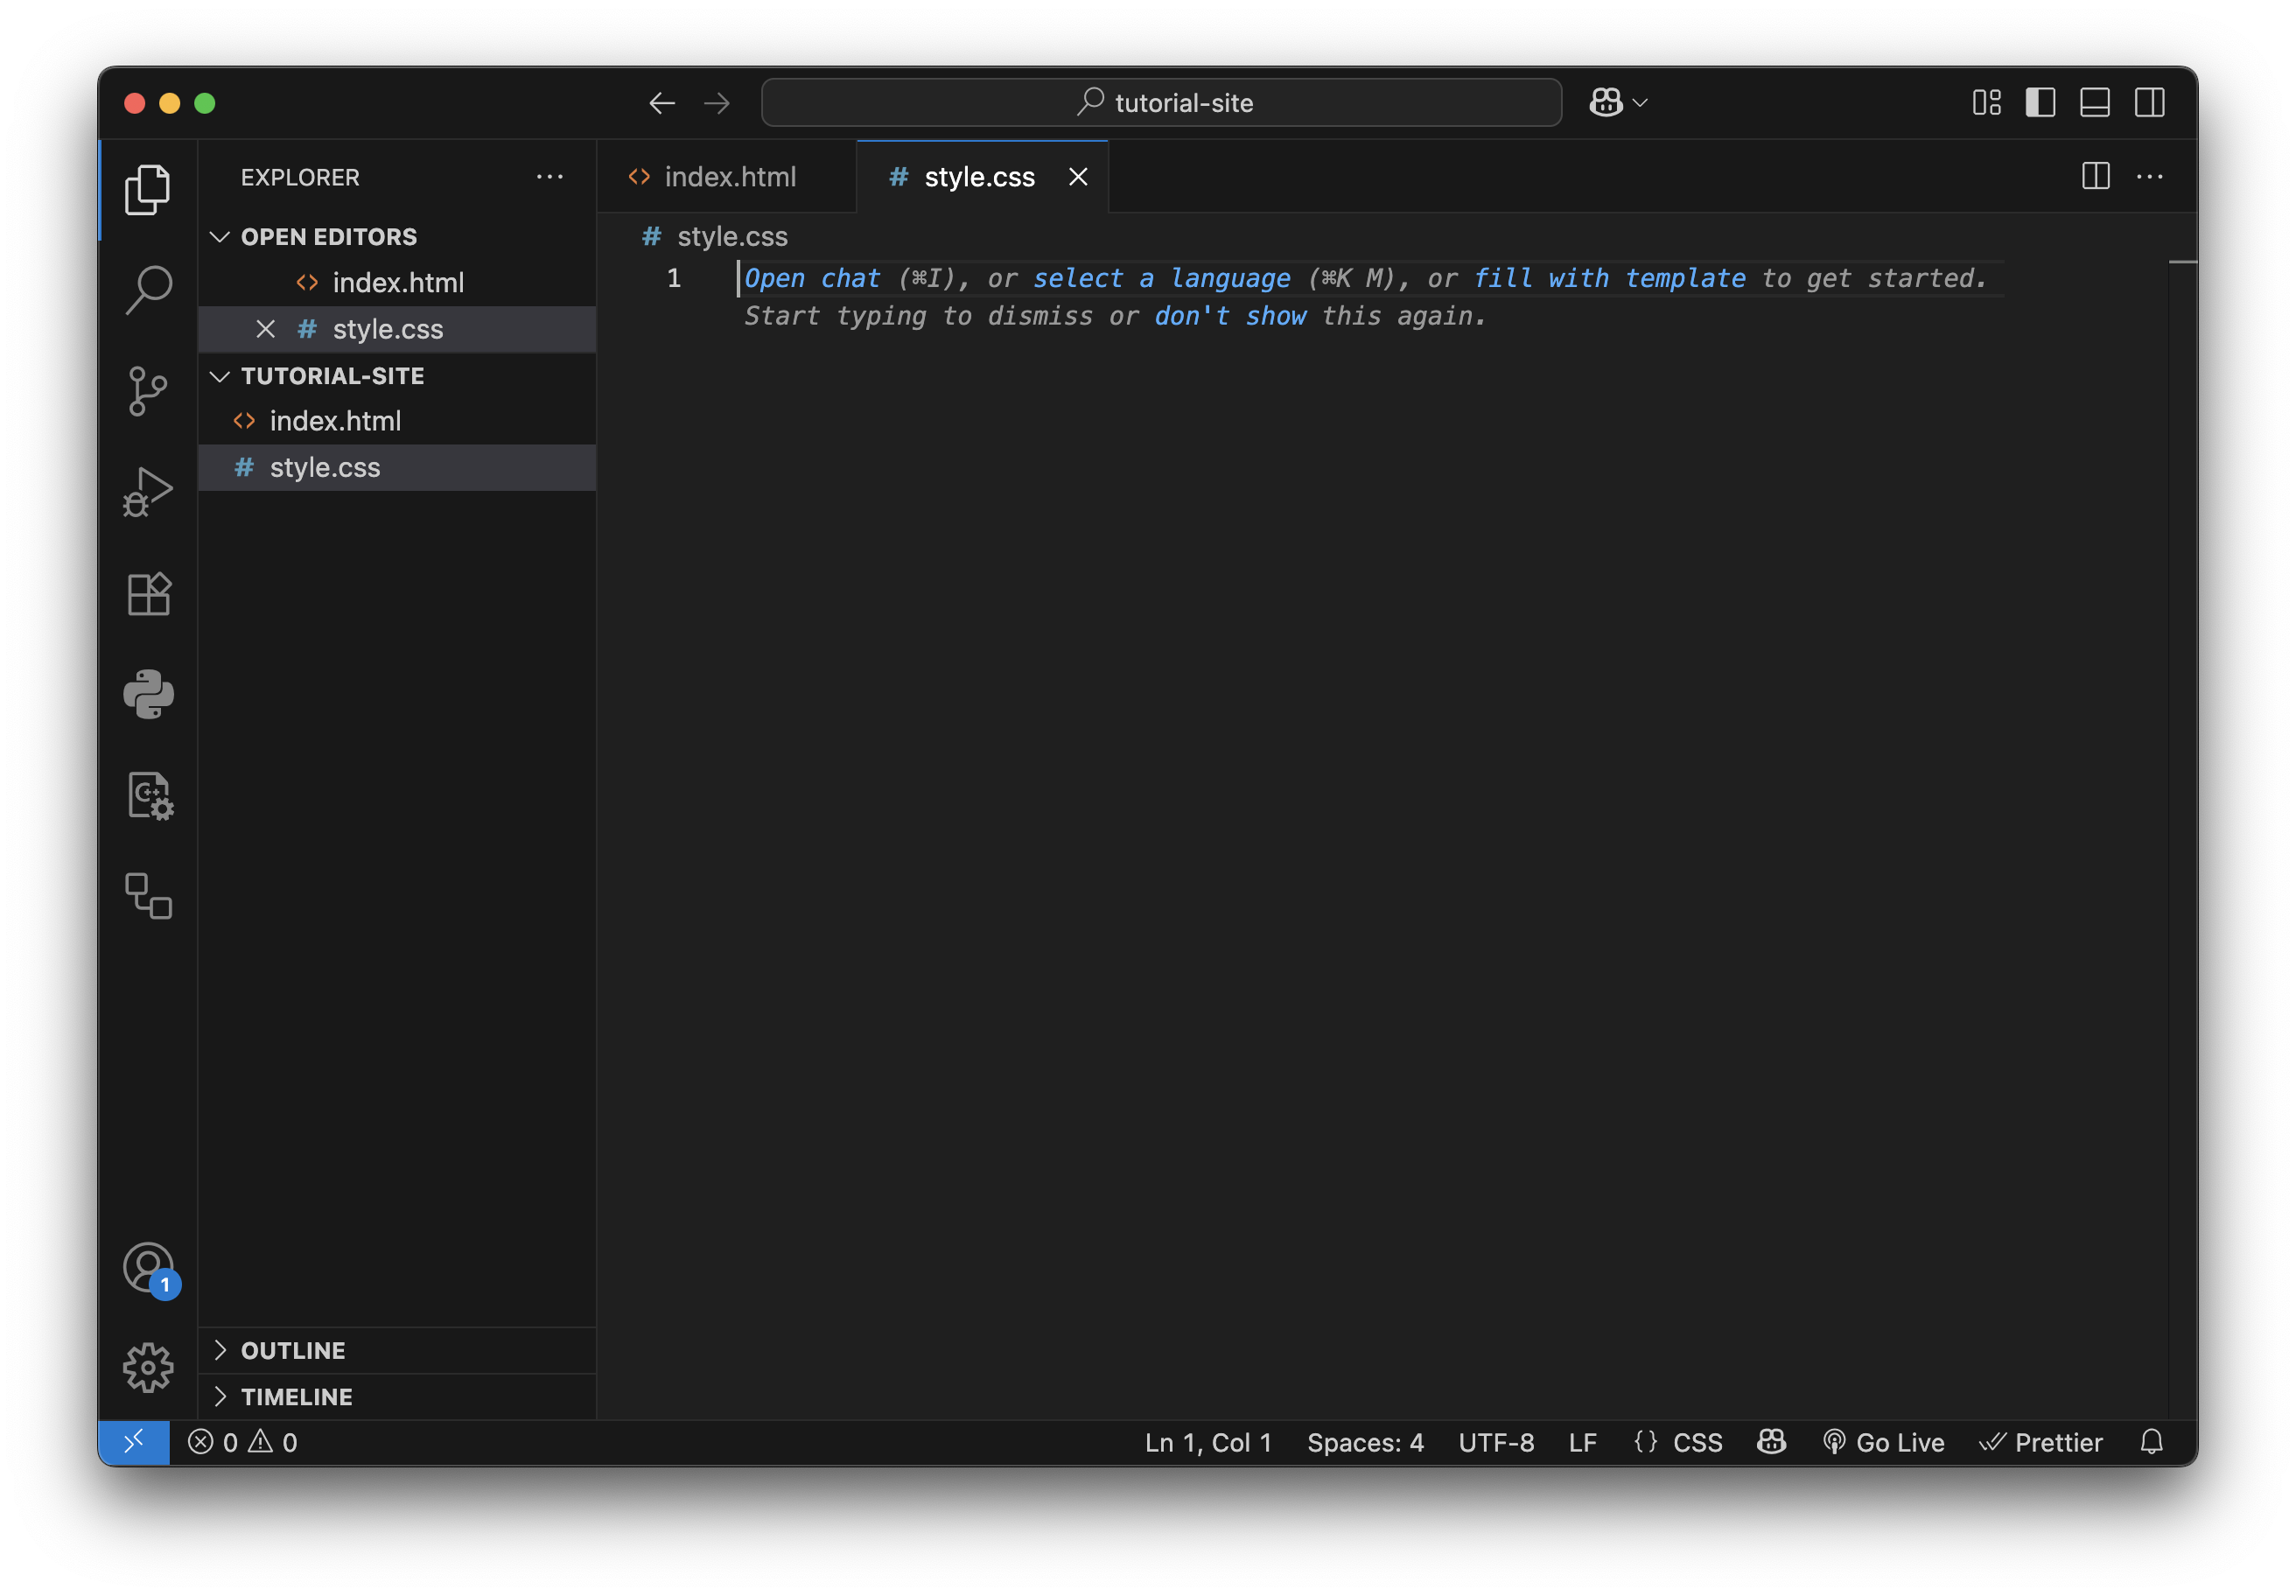
index.html. In HTML, the "index" file is always the home page. Now create
another file called style.css. HTML files determine the structure and content of your
webpage, while CSS files control the layout and appearance. You should now have two files in your
folder
that look like this:
- Navigate to your index.html file, and type an exclamation point ('!') into the main text
section.
You will see a pop-up that says: "Emmet Abbreviation". This is a shortcut in VS Code for generating
the
bare bones of an HTML page. Hit 'ENTER'. You should now have a setup that looks like this:

- We can now start adding content! But before you do, connect your
style.css file to your
index.html
file by adding <link rel="stylesheet" href="style.css">
to the end of your <head> section. By now, you should already notice some clues of how HTML
code
is written.
Content is divided up into tags. Headers use <h1>, <h2>, <h3>, etc.
Paragraphs use
<p>. Links use <a href="URL">Link Text</a>.
Images
use <img src="image.jpg"
alt="description">. All tags are closed with </> (with a few expections,
like img tags). Explore some of the
resources
included at the beginning to learn
what
else you can do!
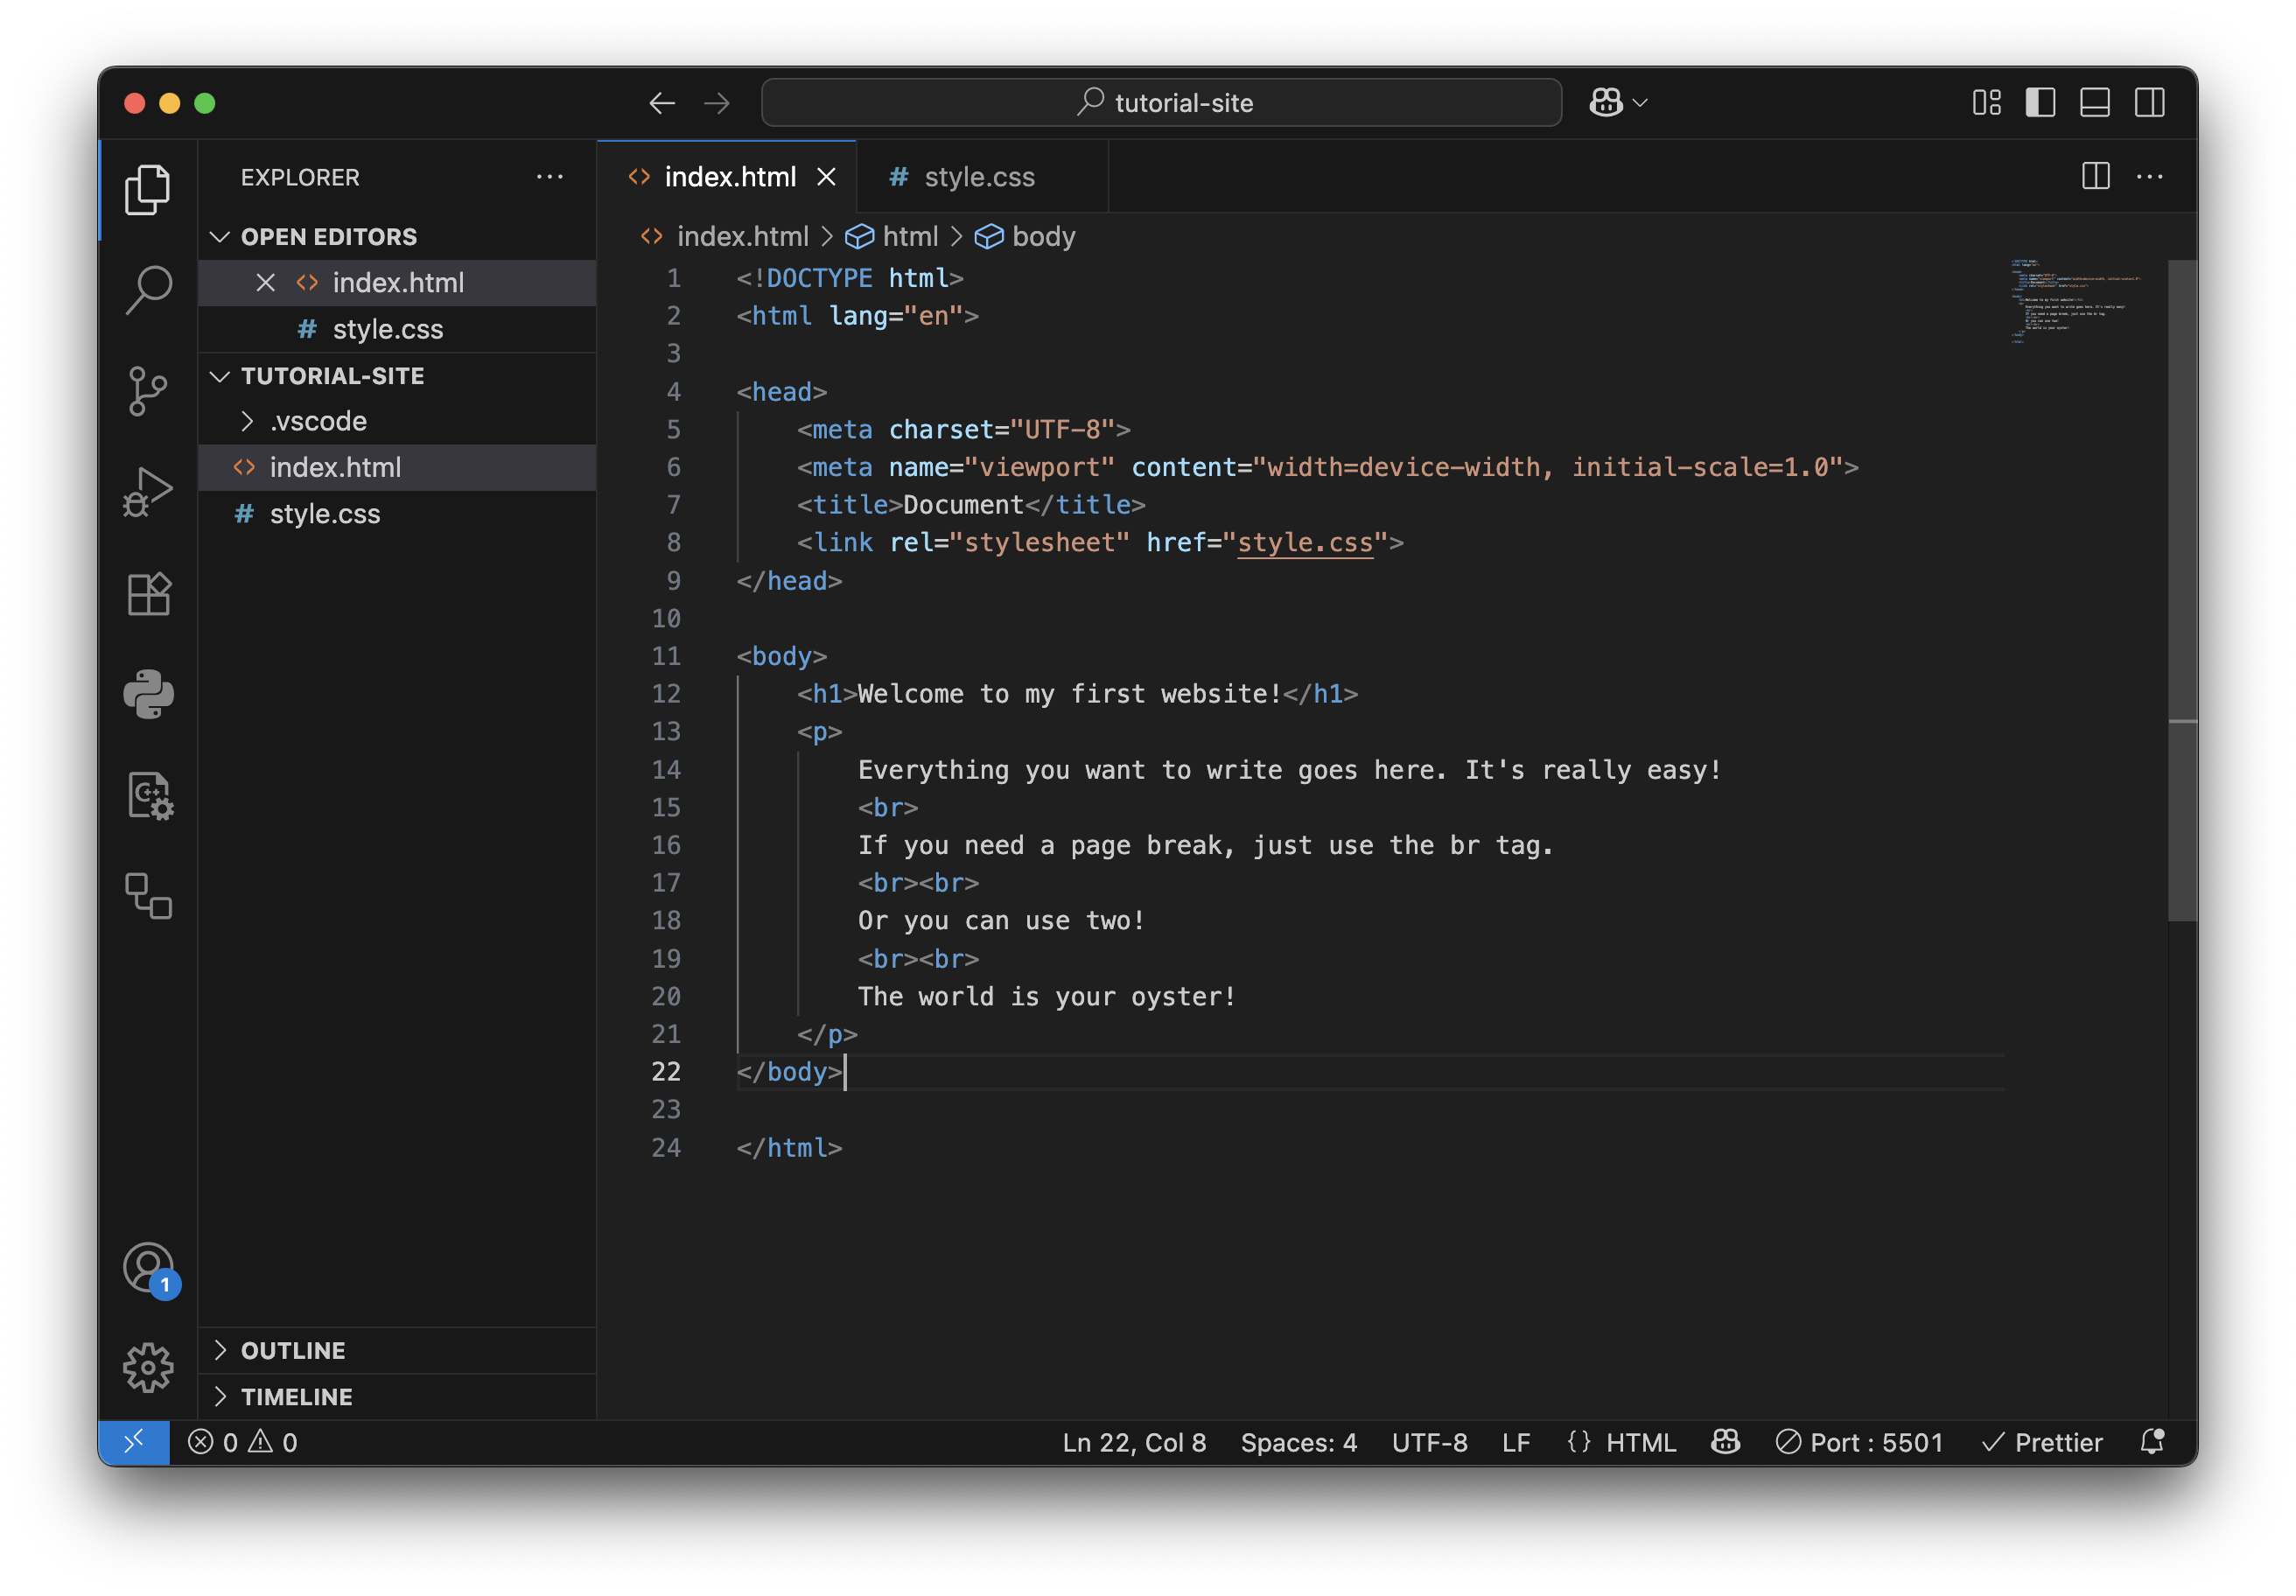
Here's what your code might look like now that we've used some of these
tags:
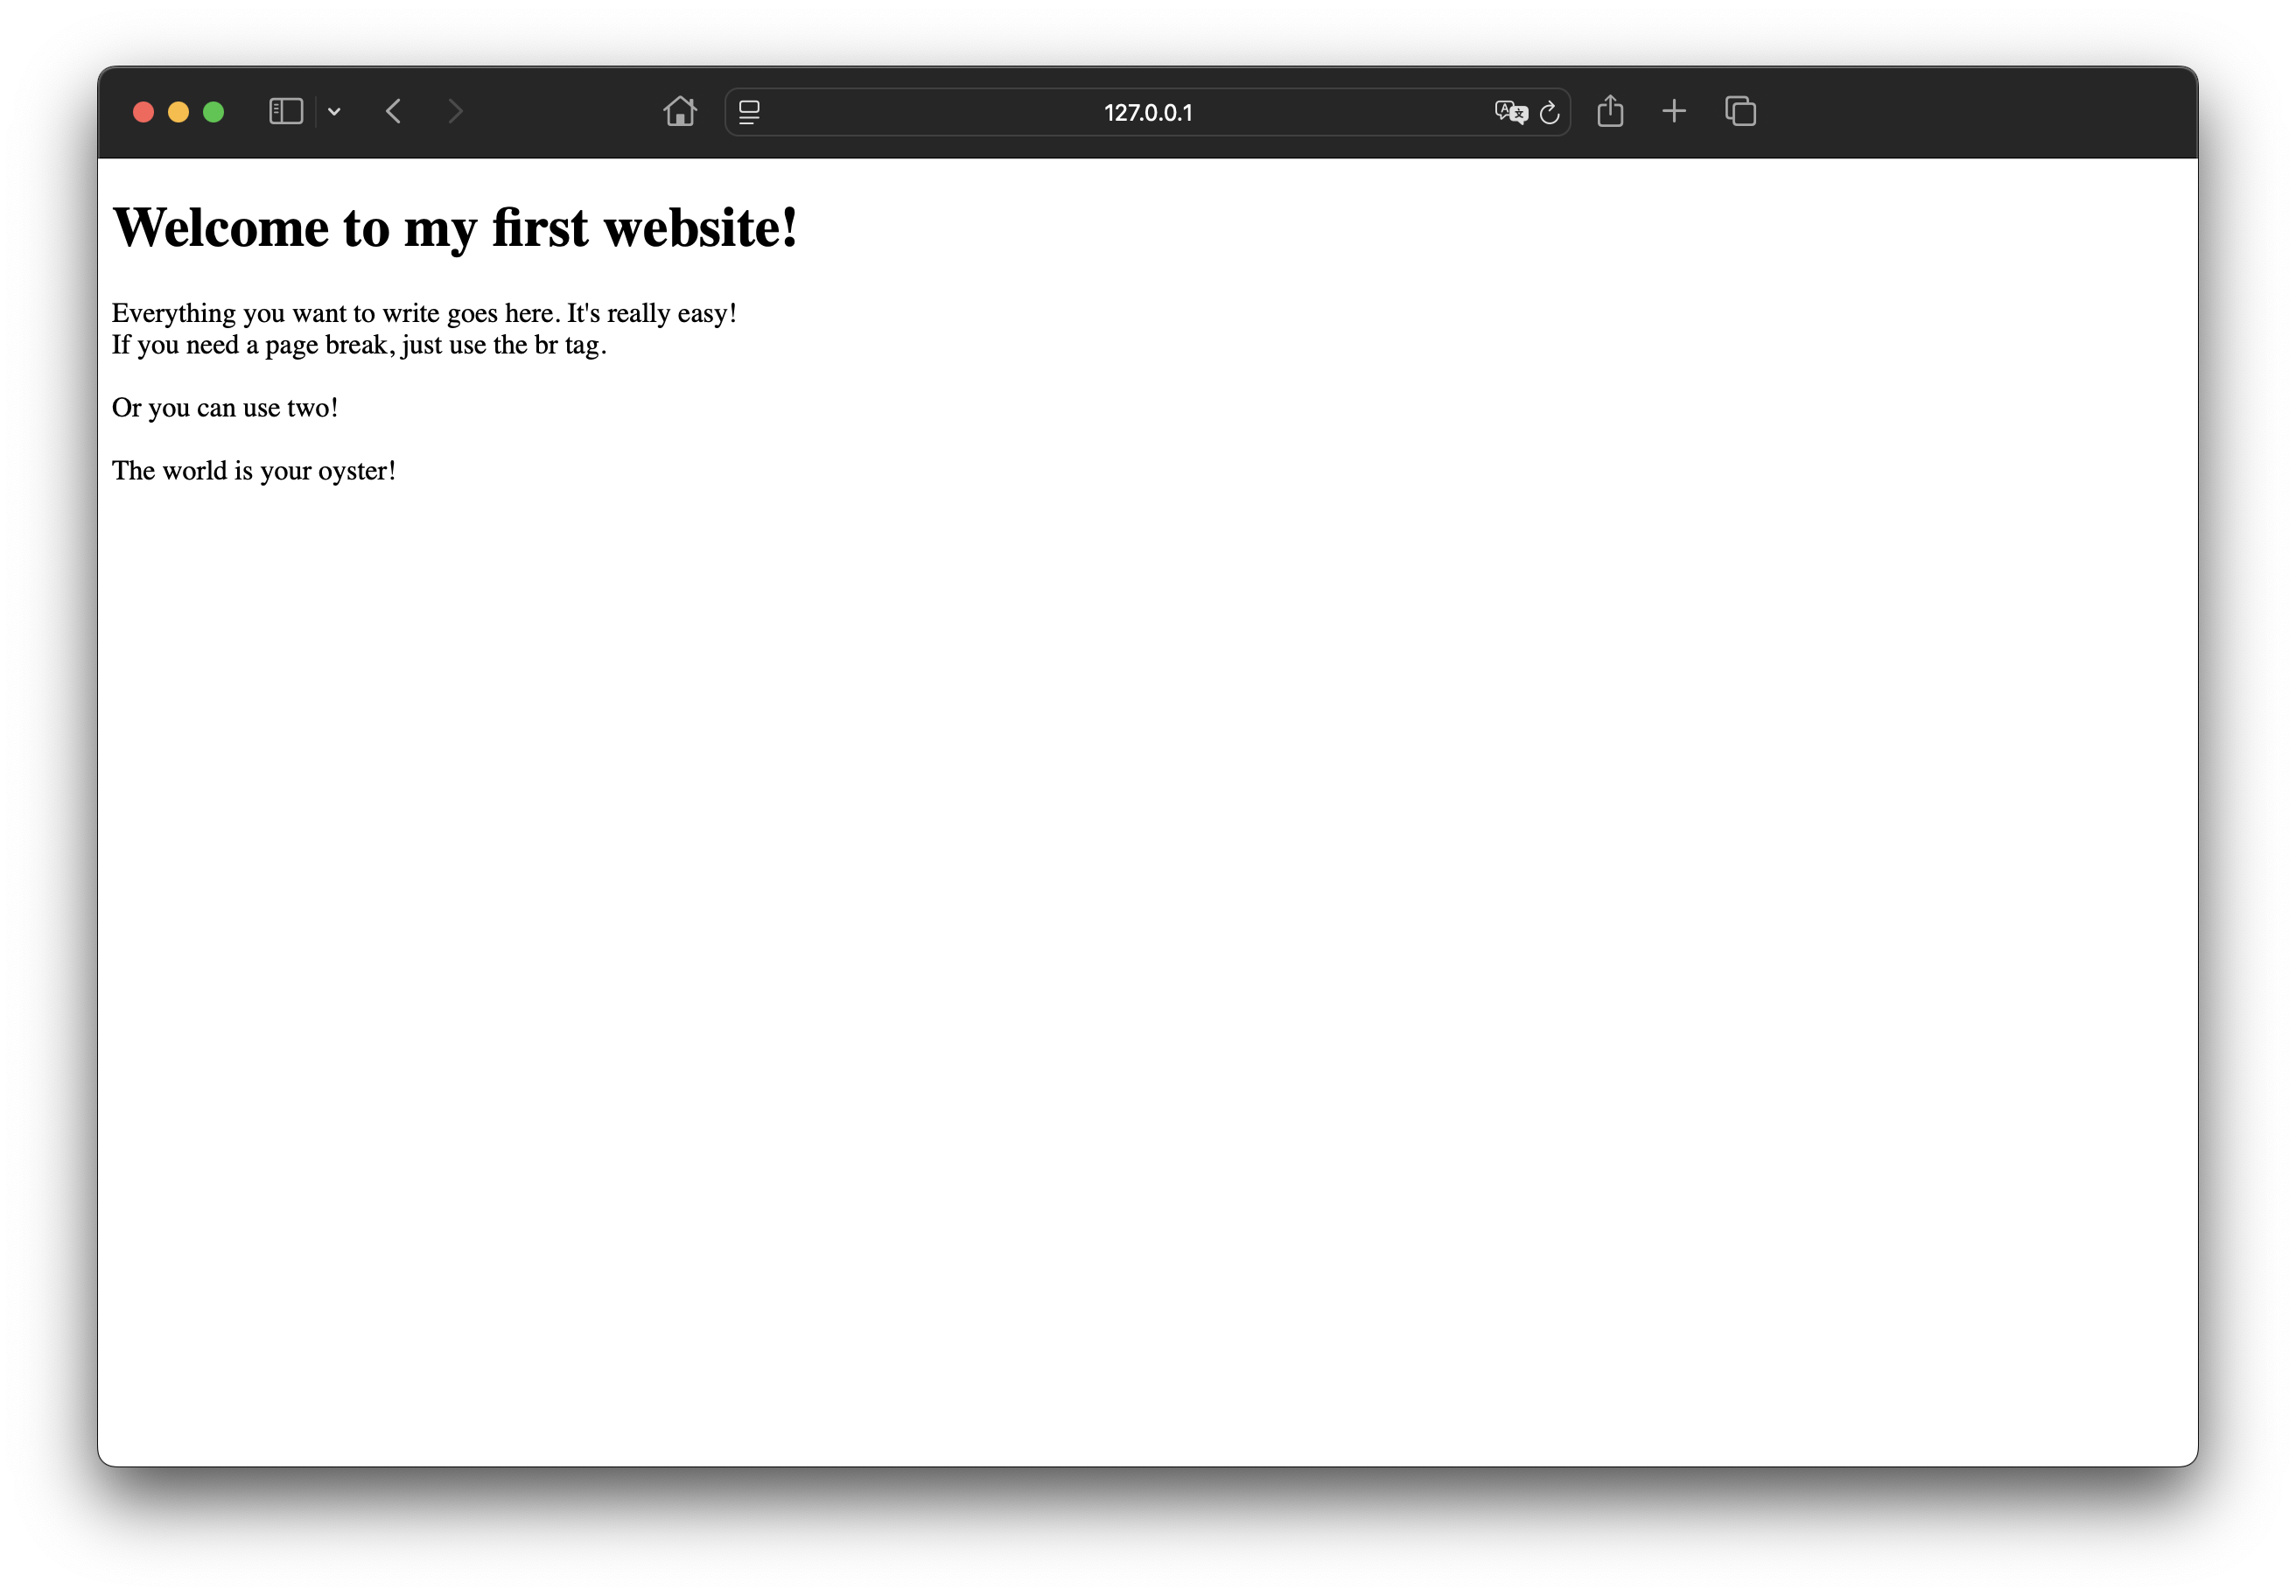
 Go ahead and click the "Go Live" button in the bottom right corner of VS Code and see what you've
built
so far! This will open your
website in your browser under a local server (probably something like https://127.0.0.1:5500). You
should see something like this:
Go ahead and click the "Go Live" button in the bottom right corner of VS Code and see what you've
built
so far! This will open your
website in your browser under a local server (probably something like https://127.0.0.1:5500). You
should see something like this:
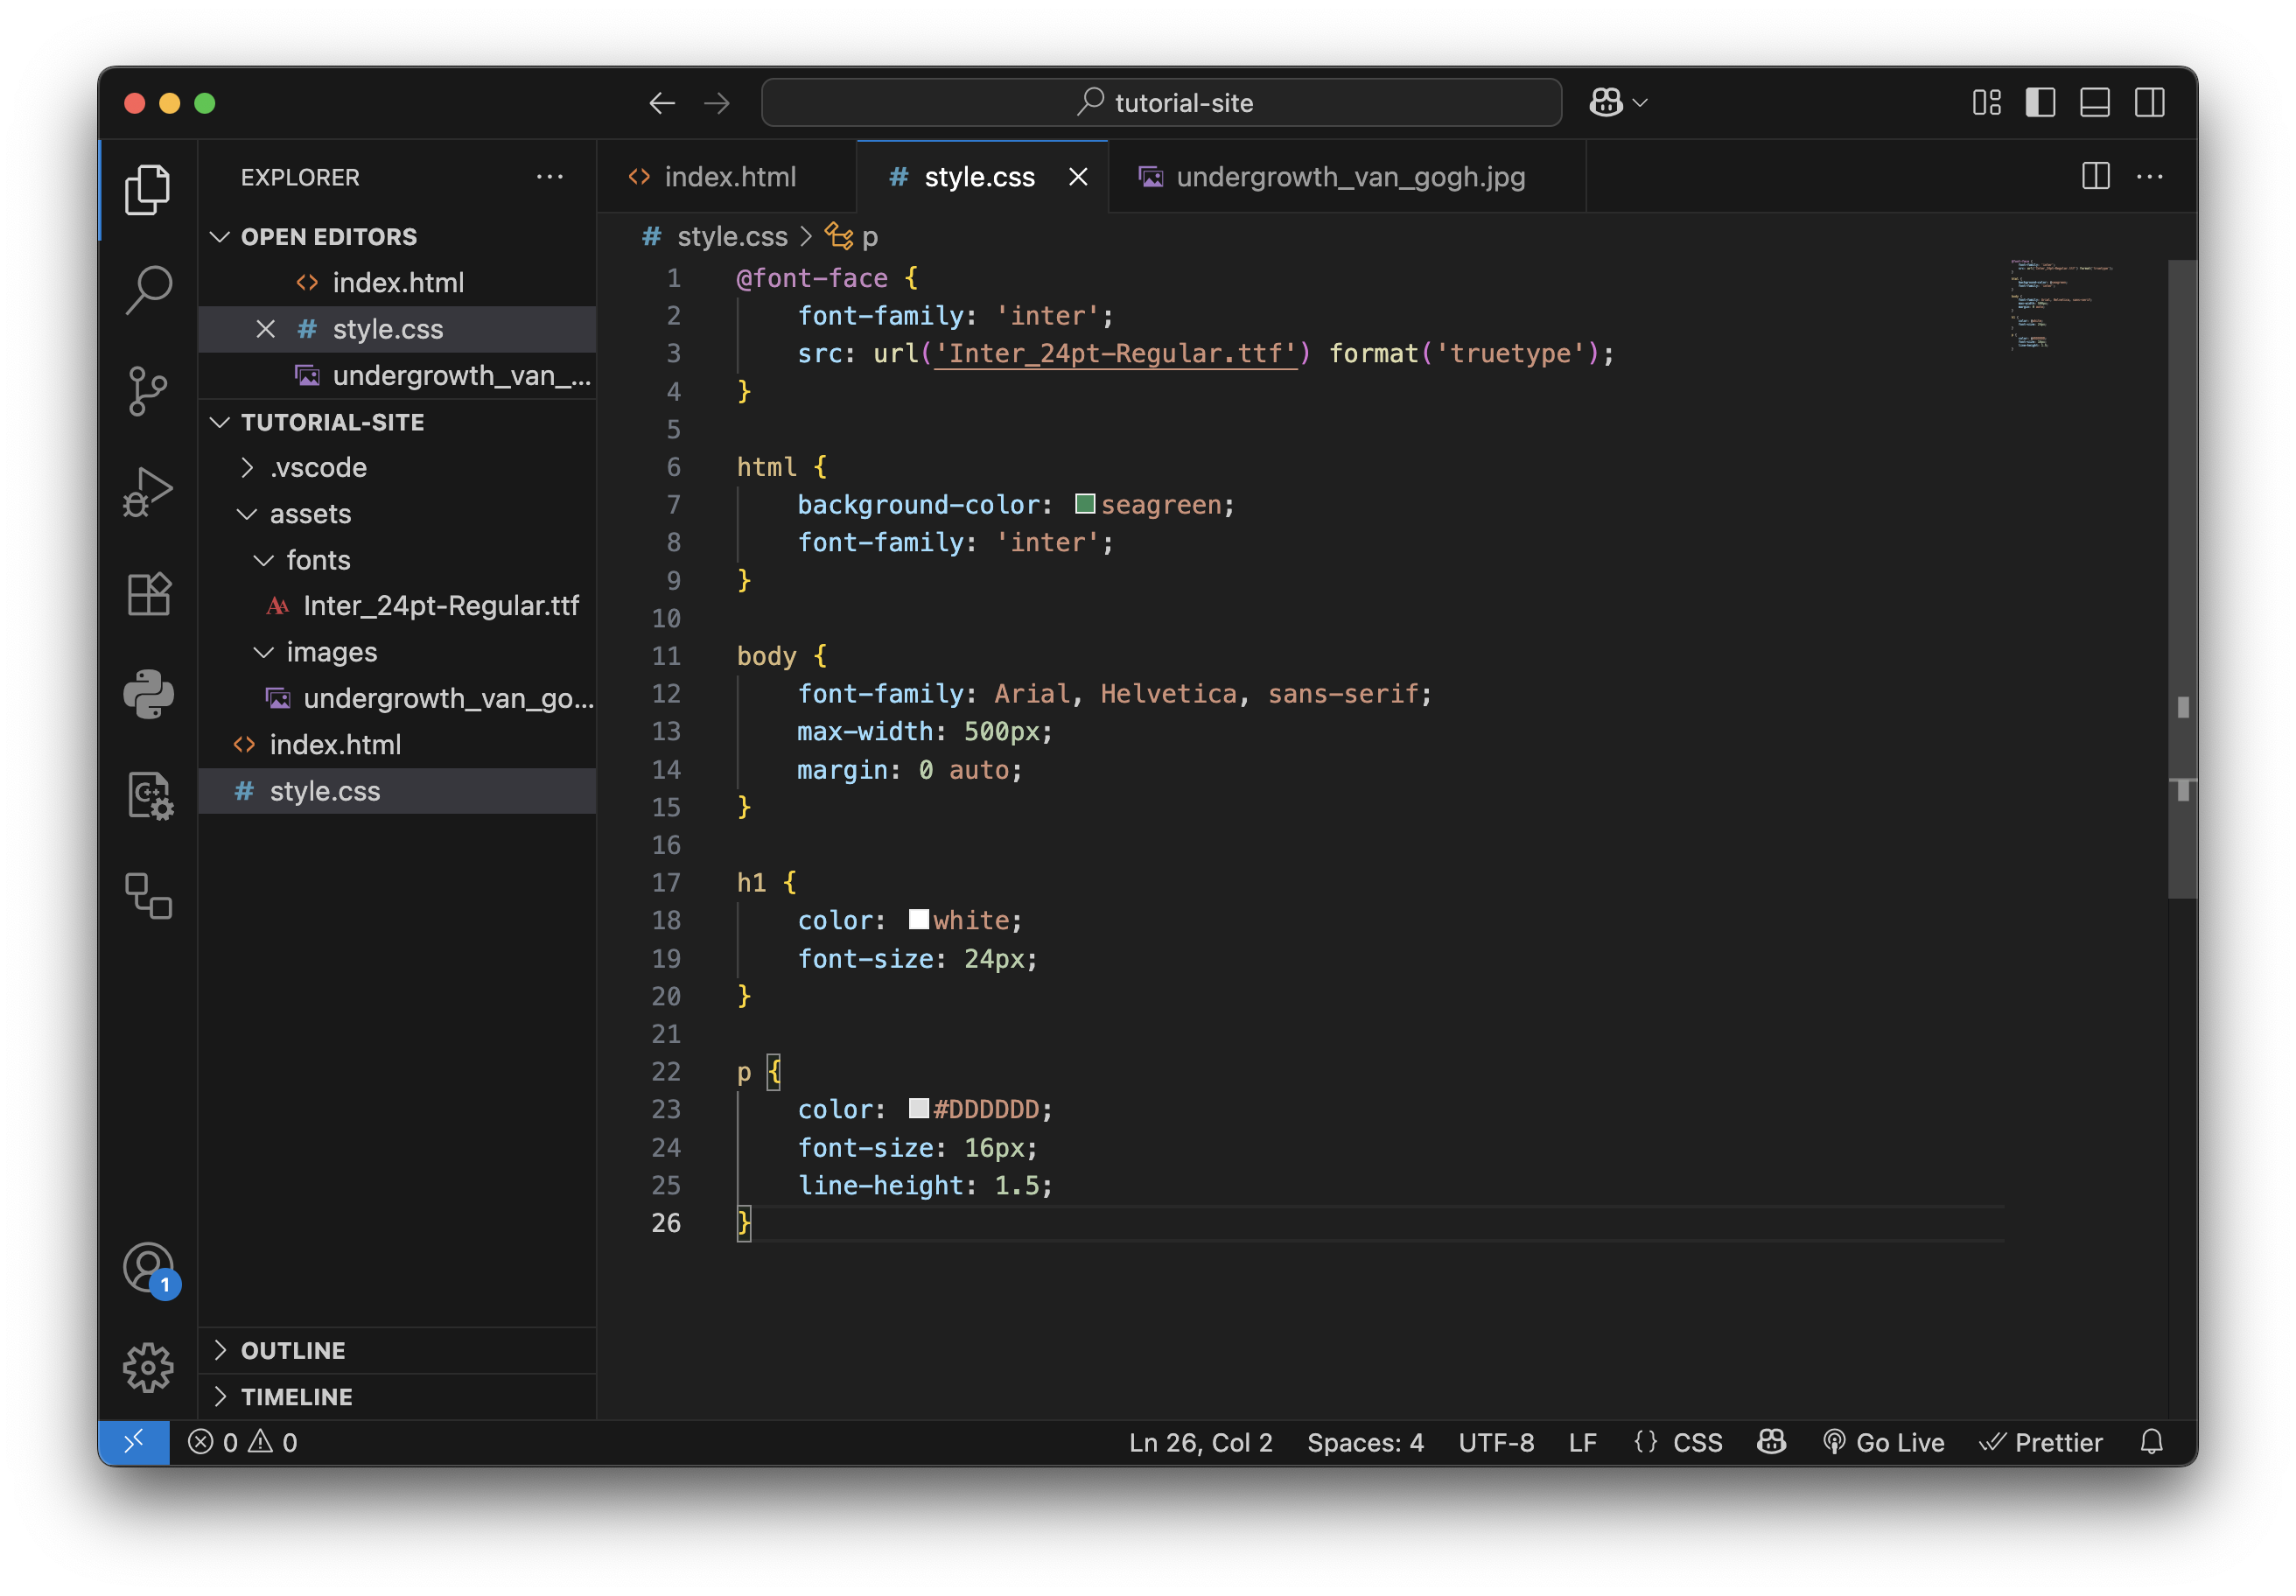
- Now it's time to style it! Navigate to your
style.css file. CSS uses a different
format
than HTML. Let's start with the background color. To change the properties of our different HTML
tags,
we will call them out like this:
html { background-color: seagreen; }. CSS is very flexible and allows you to type in a
color
name, use
hexcodes, and many other color formats. Do the same for the header text.
h1 { color: white; }. Fonts are customizable with font-family. VS Code
will
suggest some built-in web-friendly options as you type it out, or you can learn how to load your own
using @font-face. It's important to note that CSS stands for Cascading Style
Sheets. This means that you should structure your CSS file in descending order from the most
general styles to the most specific. Explore the CSS resources above to learn all the different ways
to
style
your site! It can be as simple or as complex as you want, but I recommend starting off making
something
great with only a few customizations. Go have fun!
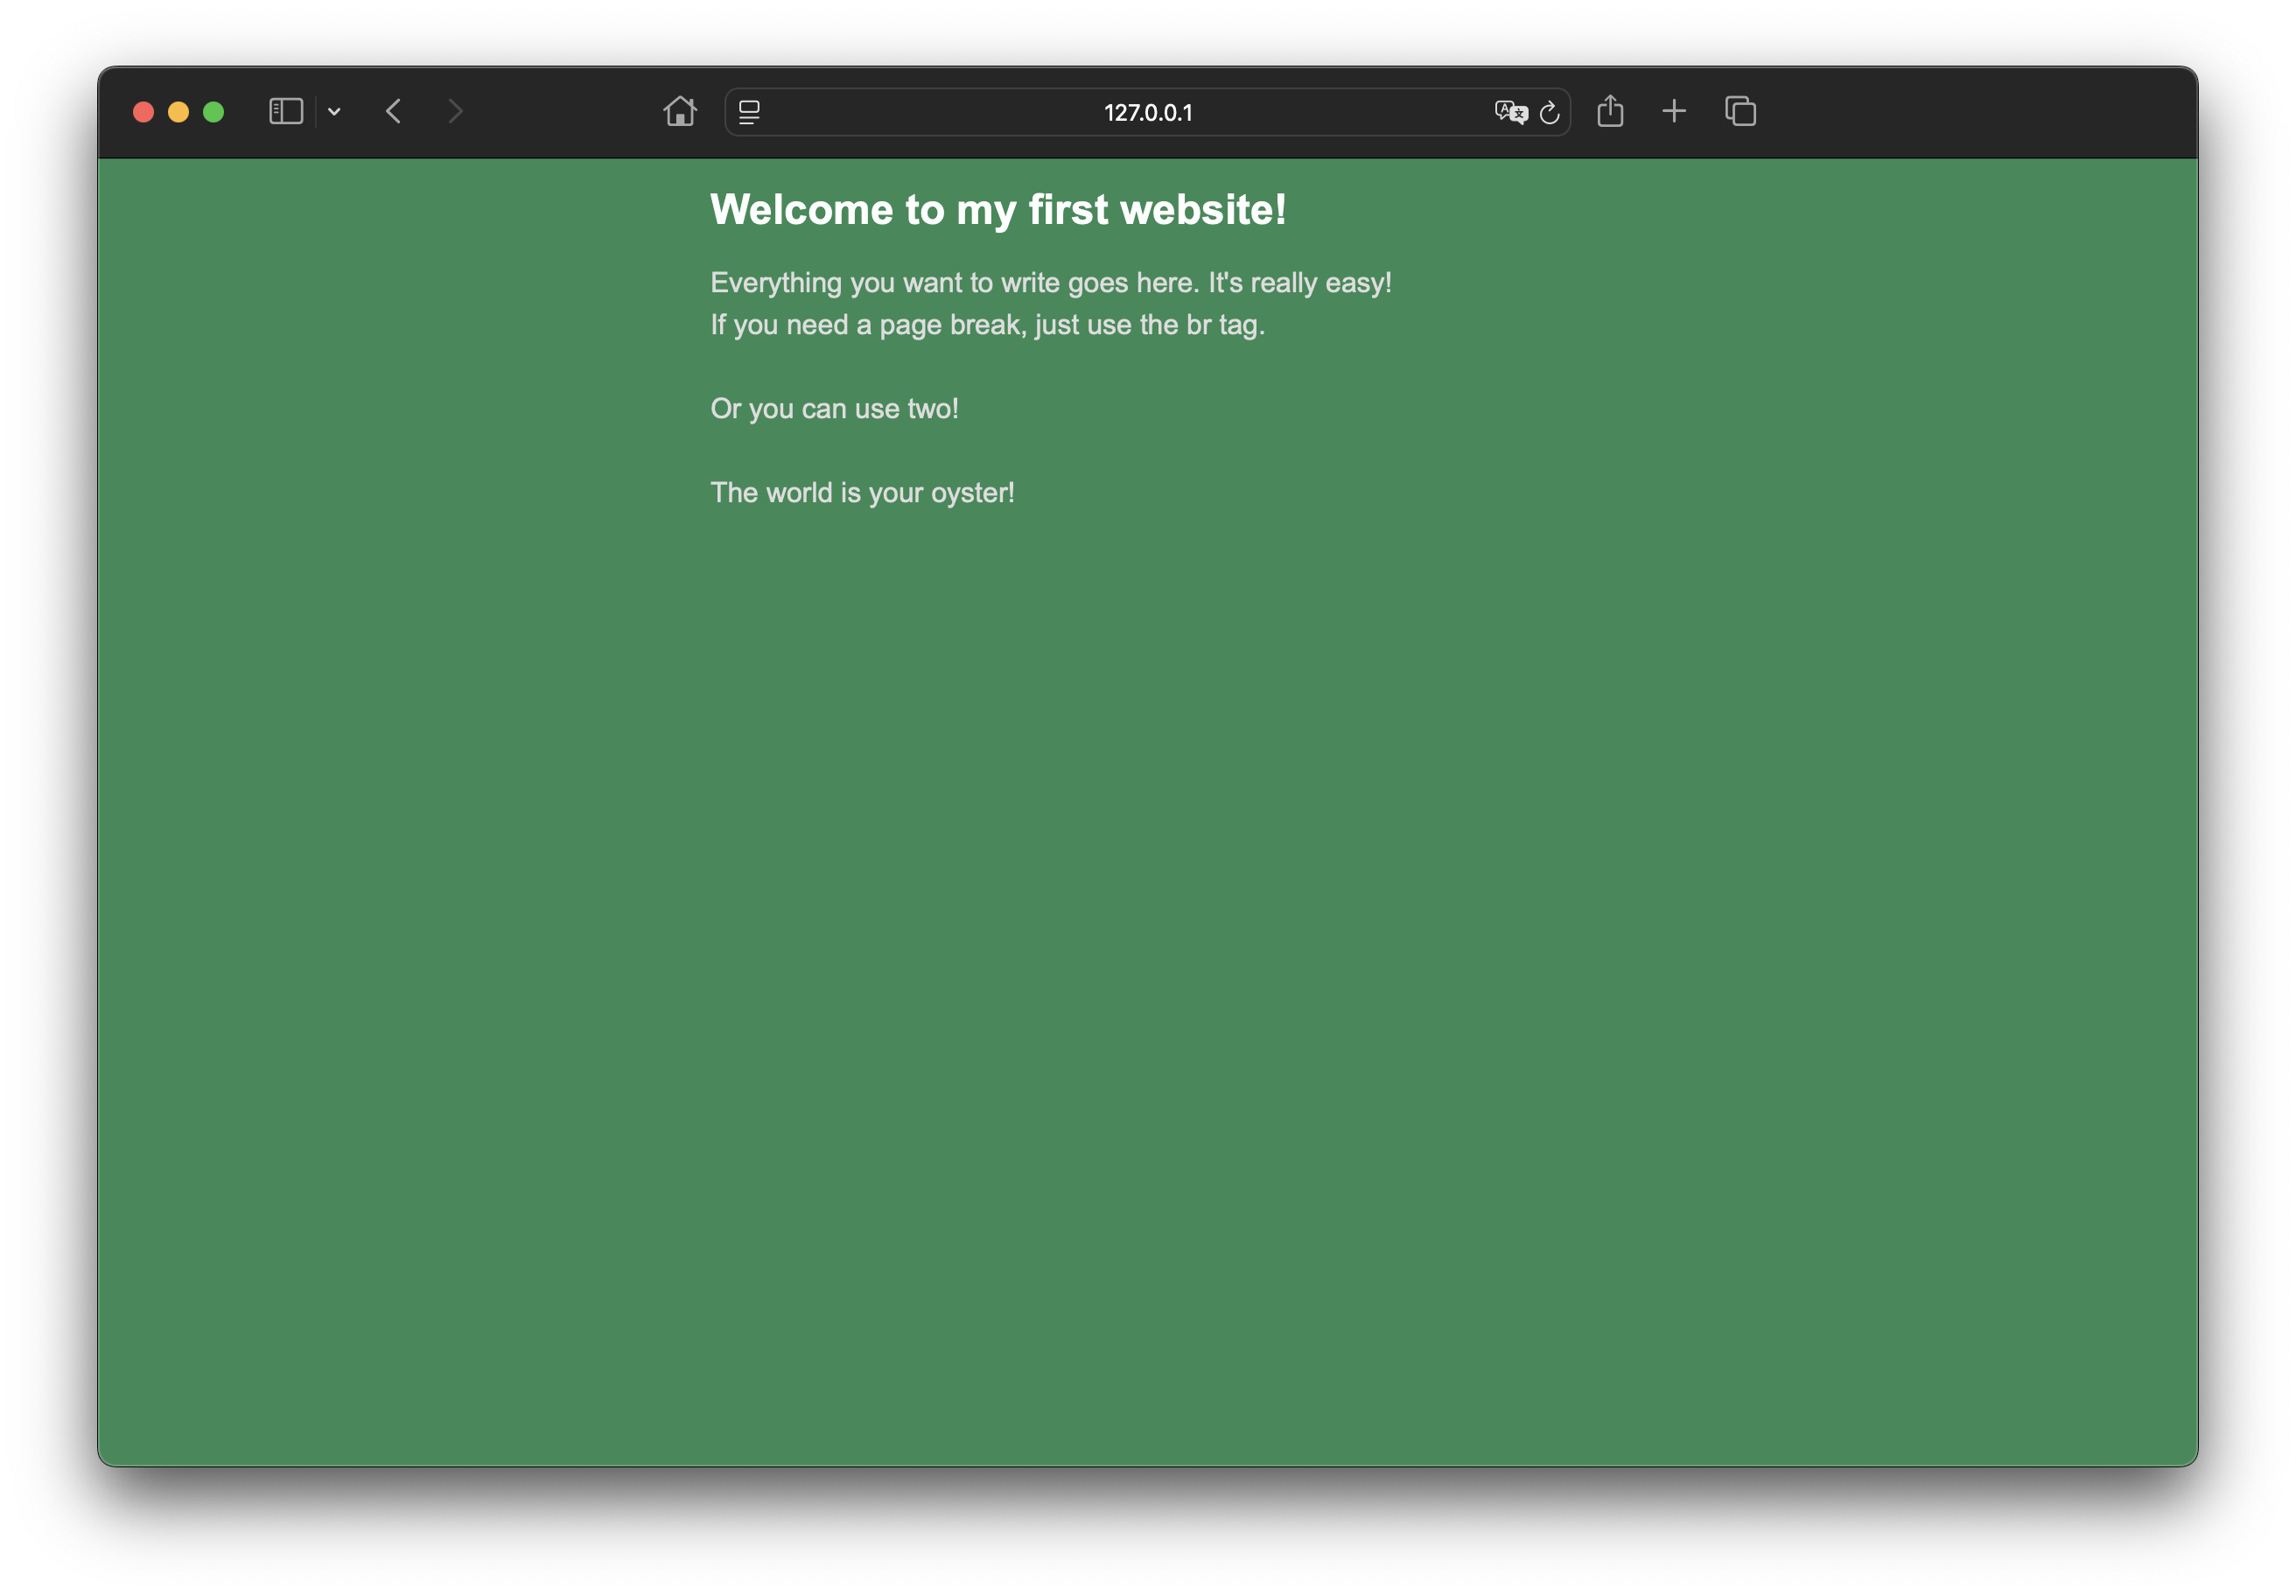
Here's an example of what your CSS and website might look like now with some styles added:
-
Last, let's load some custom files. Inside of your root folder (the main folder you loaded in VS
Code at
the beginning), create a new folder called
assets. Inside the assets
folder,
create another folder called images. These names
aren't too important, but it's important that you stay organized so your website can scale as you
continue
to
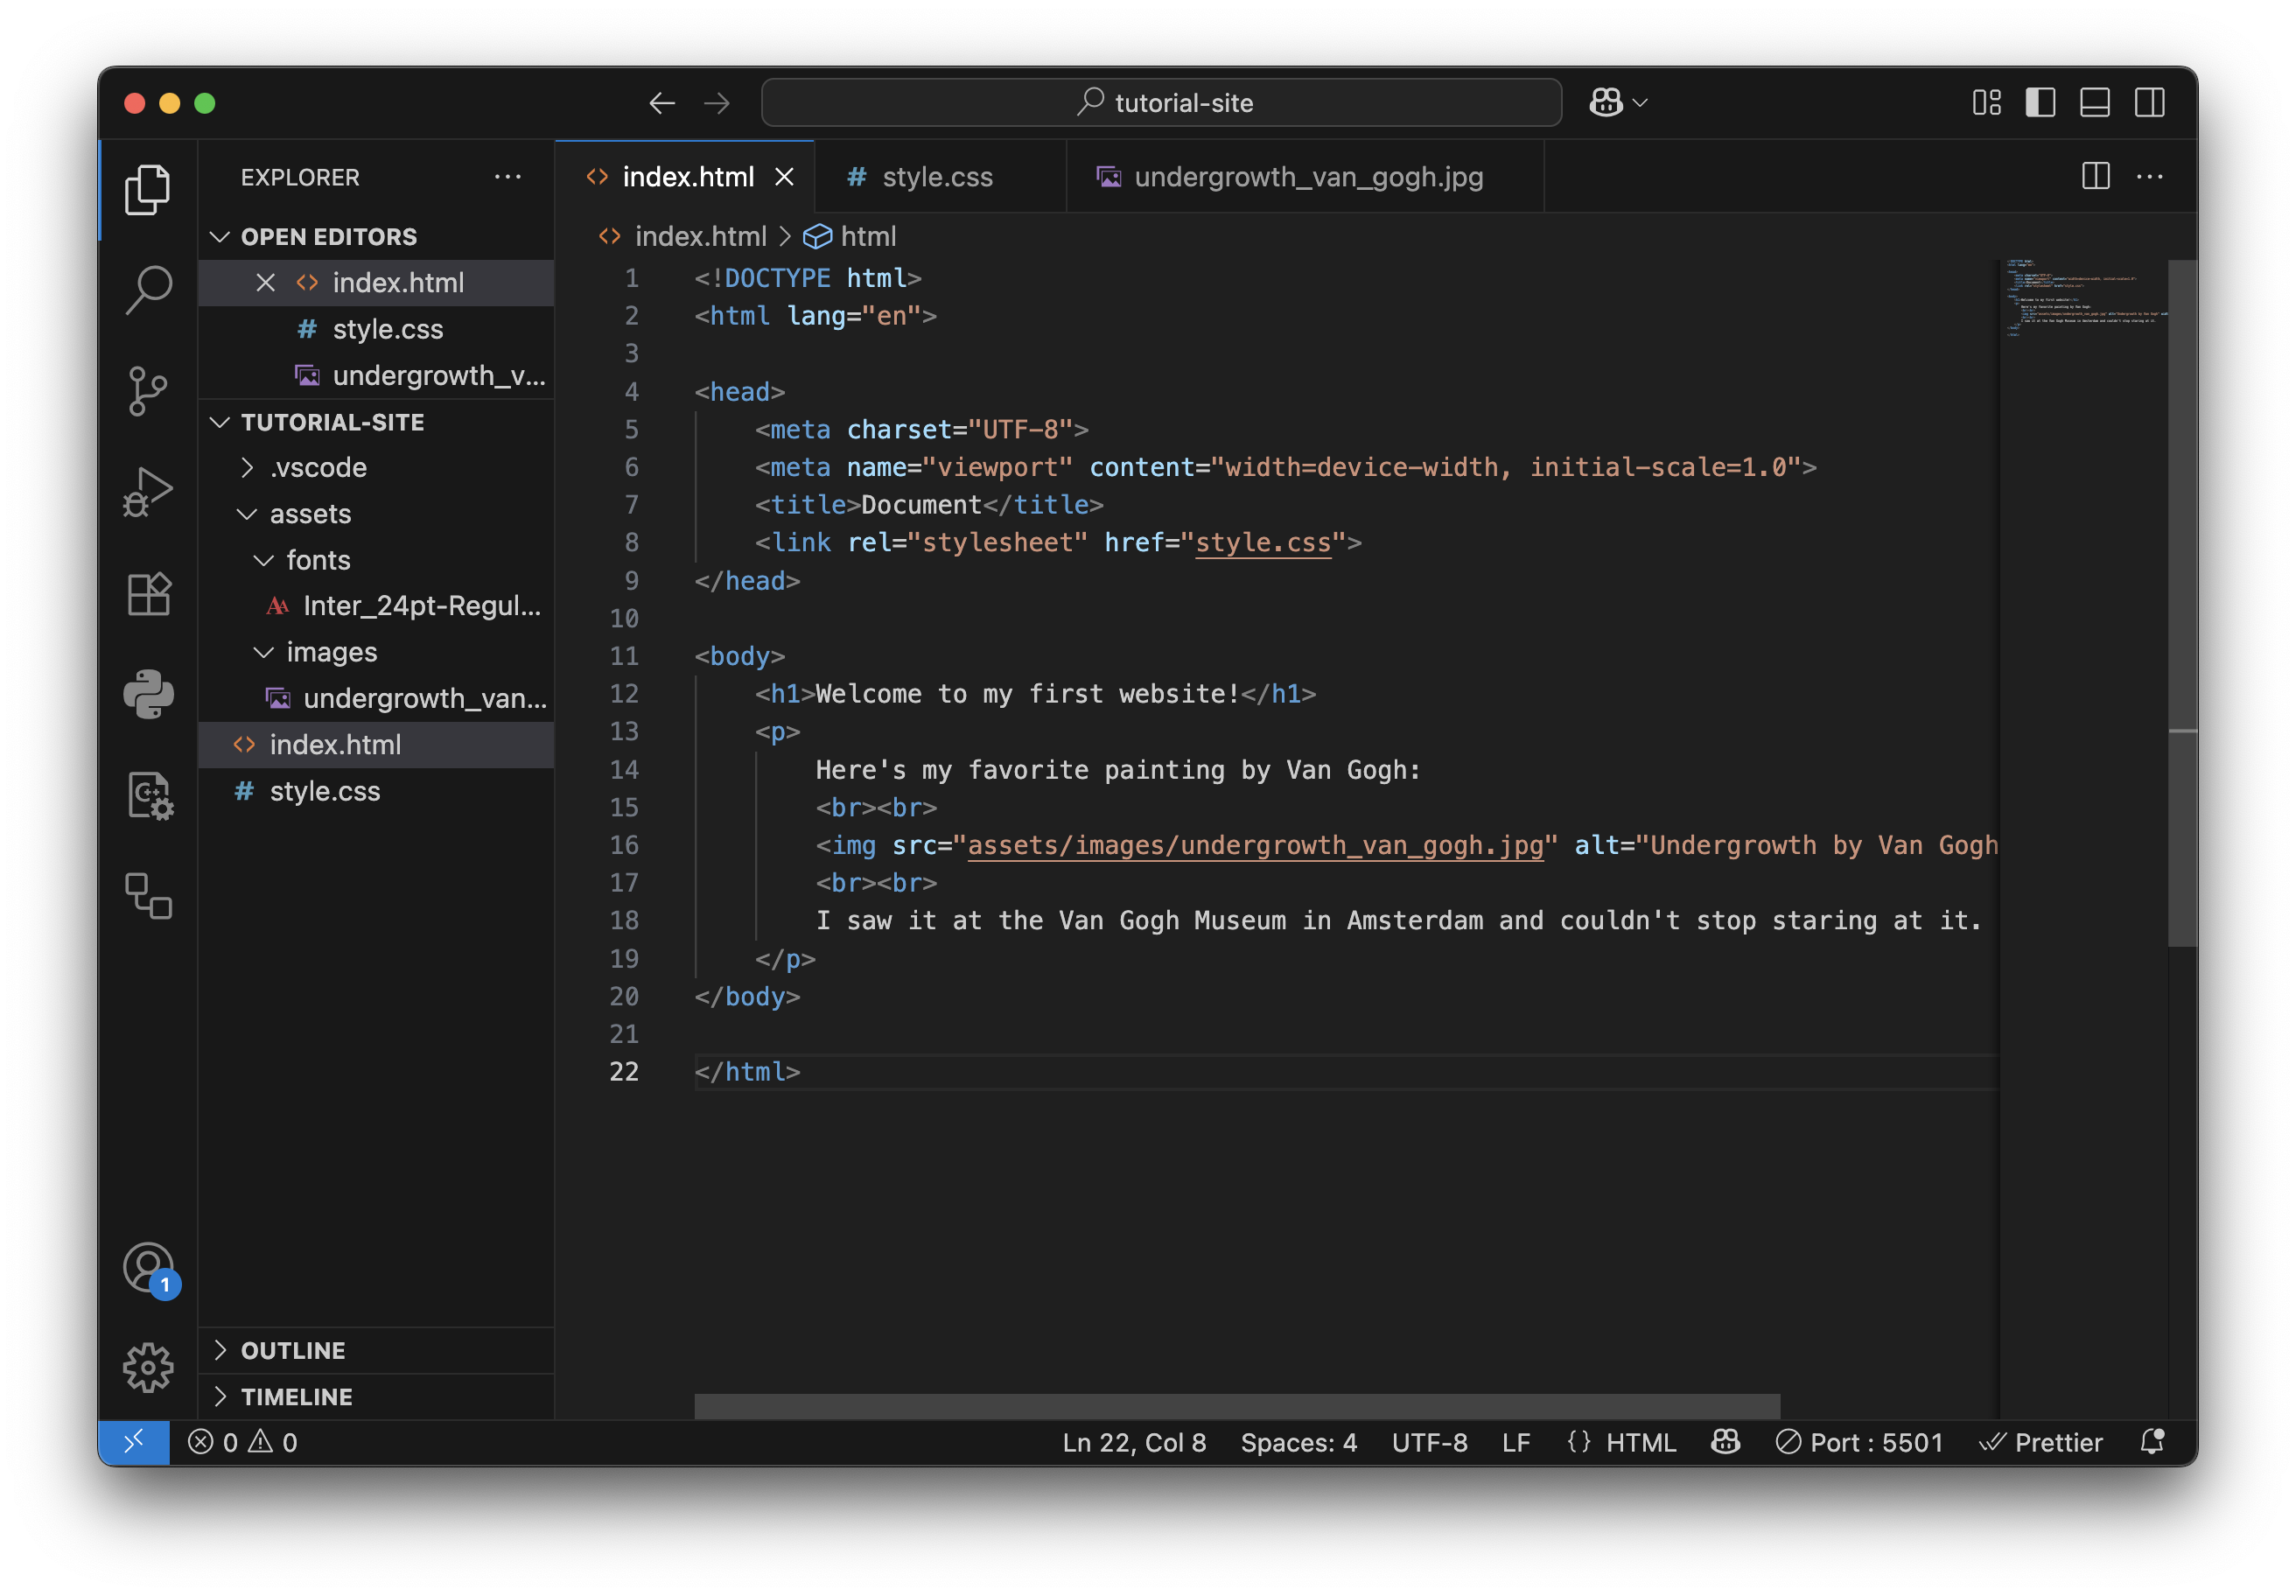
build it out. Inside of the images folder, drag in whatever images you'd like to use on
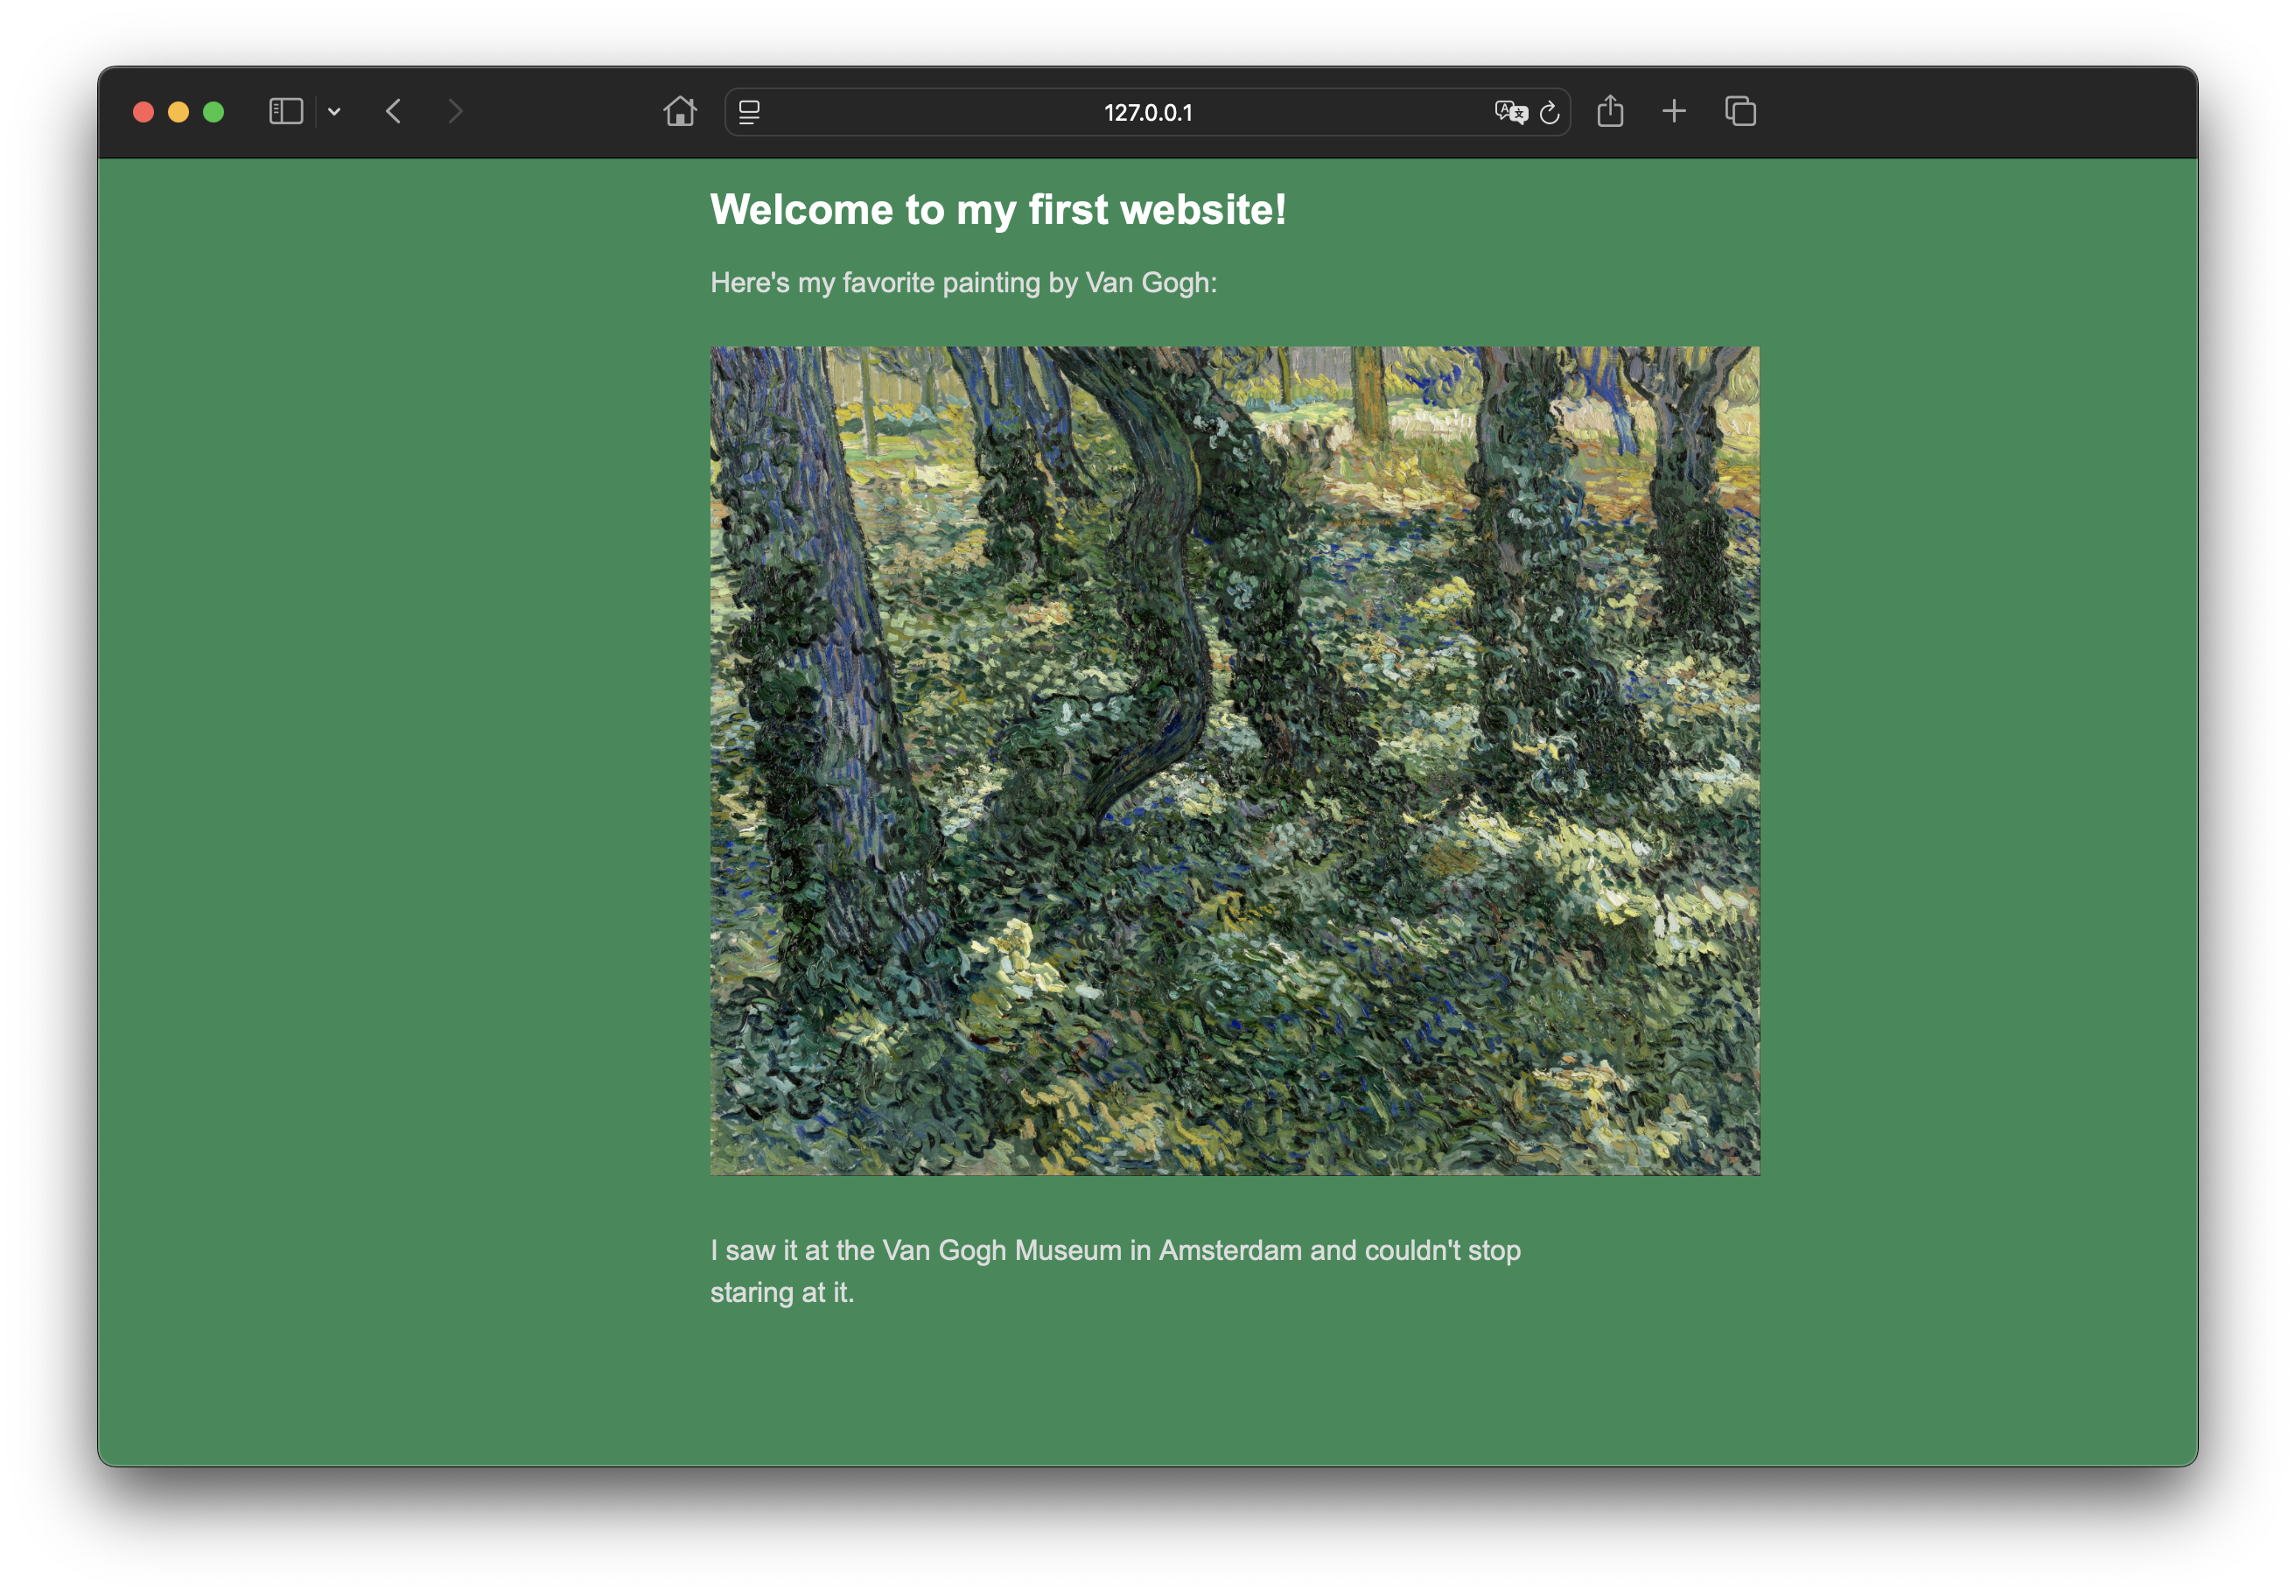
your site. I'm going to use one of my favorite Van Gogh paintings, Undergrowth. In your
HTML,
use the <img> tag. Unlike our other tags, you won't need to close it with a
separate tag. It will look
like this:
<img src="assets/images/undergrowth.jpg" alt="Van Gogh's Undergrowth">. The
src attribute
tells the browser where to find the image in your directory, and the alt attribute
provides
a description of
the image for accessibility purposes. Now, if you go back to your browser, you should see the image
displayed on your site!
 Have fun with it, keep customizing and make it personal! Add links to your favorite websites, add
pictures of your cat. Write a blog, keep a journal, do whatever you want!
Have fun with it, keep customizing and make it personal! Add links to your favorite websites, add
pictures of your cat. Write a blog, keep a journal, do whatever you want!
index.html. In HTML, the "index" file is always the home page. Now create
another file called style.css. HTML files determine the structure and content of your
webpage, while CSS files control the layout and appearance. You should now have two files in your
folder
that look like this:
style.css file to your
index.html
file by adding <link rel="stylesheet" href="style.css">
to the end of your <head> section. By now, you should already notice some clues of how HTML
code
is written.
Content is divided up into tags. Headers use <h1>, <h2>, <h3>, etc.
Paragraphs use
<p>. Links use <a href="URL">Link Text</a>.
Images
use <img src="image.jpg"
alt="description">. All tags are closed with </> (with a few expections,
like img tags). Explore some of the
resources
included at the beginning to learn
what
else you can do! Here's what your code might look like now that we've used some of these tags:
Go ahead and click the "Go Live" button in the bottom right corner of VS Code and see what you've
built
so far! This will open your
website in your browser under a local server (probably something like https://127.0.0.1:5500). You
should see something like this:
style.css file. CSS uses a different
format
than HTML. Let's start with the background color. To change the properties of our different HTML
tags,
we will call them out like this:
html { background-color: seagreen; }. CSS is very flexible and allows you to type in a
color
name, use
hexcodes, and many other color formats. Do the same for the header text.
h1 { color: white; }. Fonts are customizable with font-family. VS Code
will
suggest some built-in web-friendly options as you type it out, or you can learn how to load your own
using @font-face. It's important to note that CSS stands for Cascading Style
Sheets. This means that you should structure your CSS file in descending order from the most
general styles to the most specific. Explore the CSS resources above to learn all the different ways
to
style
your site! It can be as simple or as complex as you want, but I recommend starting off making
something
great with only a few customizations. Go have fun!
Here's an example of what your CSS and website might look like now with some styles added:
assets. Inside the assets
folder,
create another folder called images. These names
aren't too important, but it's important that you stay organized so your website can scale as you
continue
to
build it out. Inside of the images folder, drag in whatever images you'd like to use on
your site. I'm going to use one of my favorite Van Gogh paintings, Undergrowth. In your
HTML,
use the <img> tag. Unlike our other tags, you won't need to close it with a
separate tag. It will look
like this:
<img src="assets/images/undergrowth.jpg" alt="Van Gogh's Undergrowth">. The
src attribute
tells the browser where to find the image in your directory, and the alt attribute
provides
a description of
the image for accessibility purposes. Now, if you go back to your browser, you should see the image
displayed on your site!
Have fun with it, keep customizing and make it personal! Add links to your favorite websites, add
pictures of your cat. Write a blog, keep a journal, do whatever you want!

 You will be redirected to a page where you can now drag and drop your website files
into the window and upload them.
You will be redirected to a page where you can now drag and drop your website files
into the window and upload them.

 Scroll down on the left-hand side until you see the "Pages" section and click on it.
 Leave the source as "Deploy from a branch", select the main branch, then click "Save". This will deploy
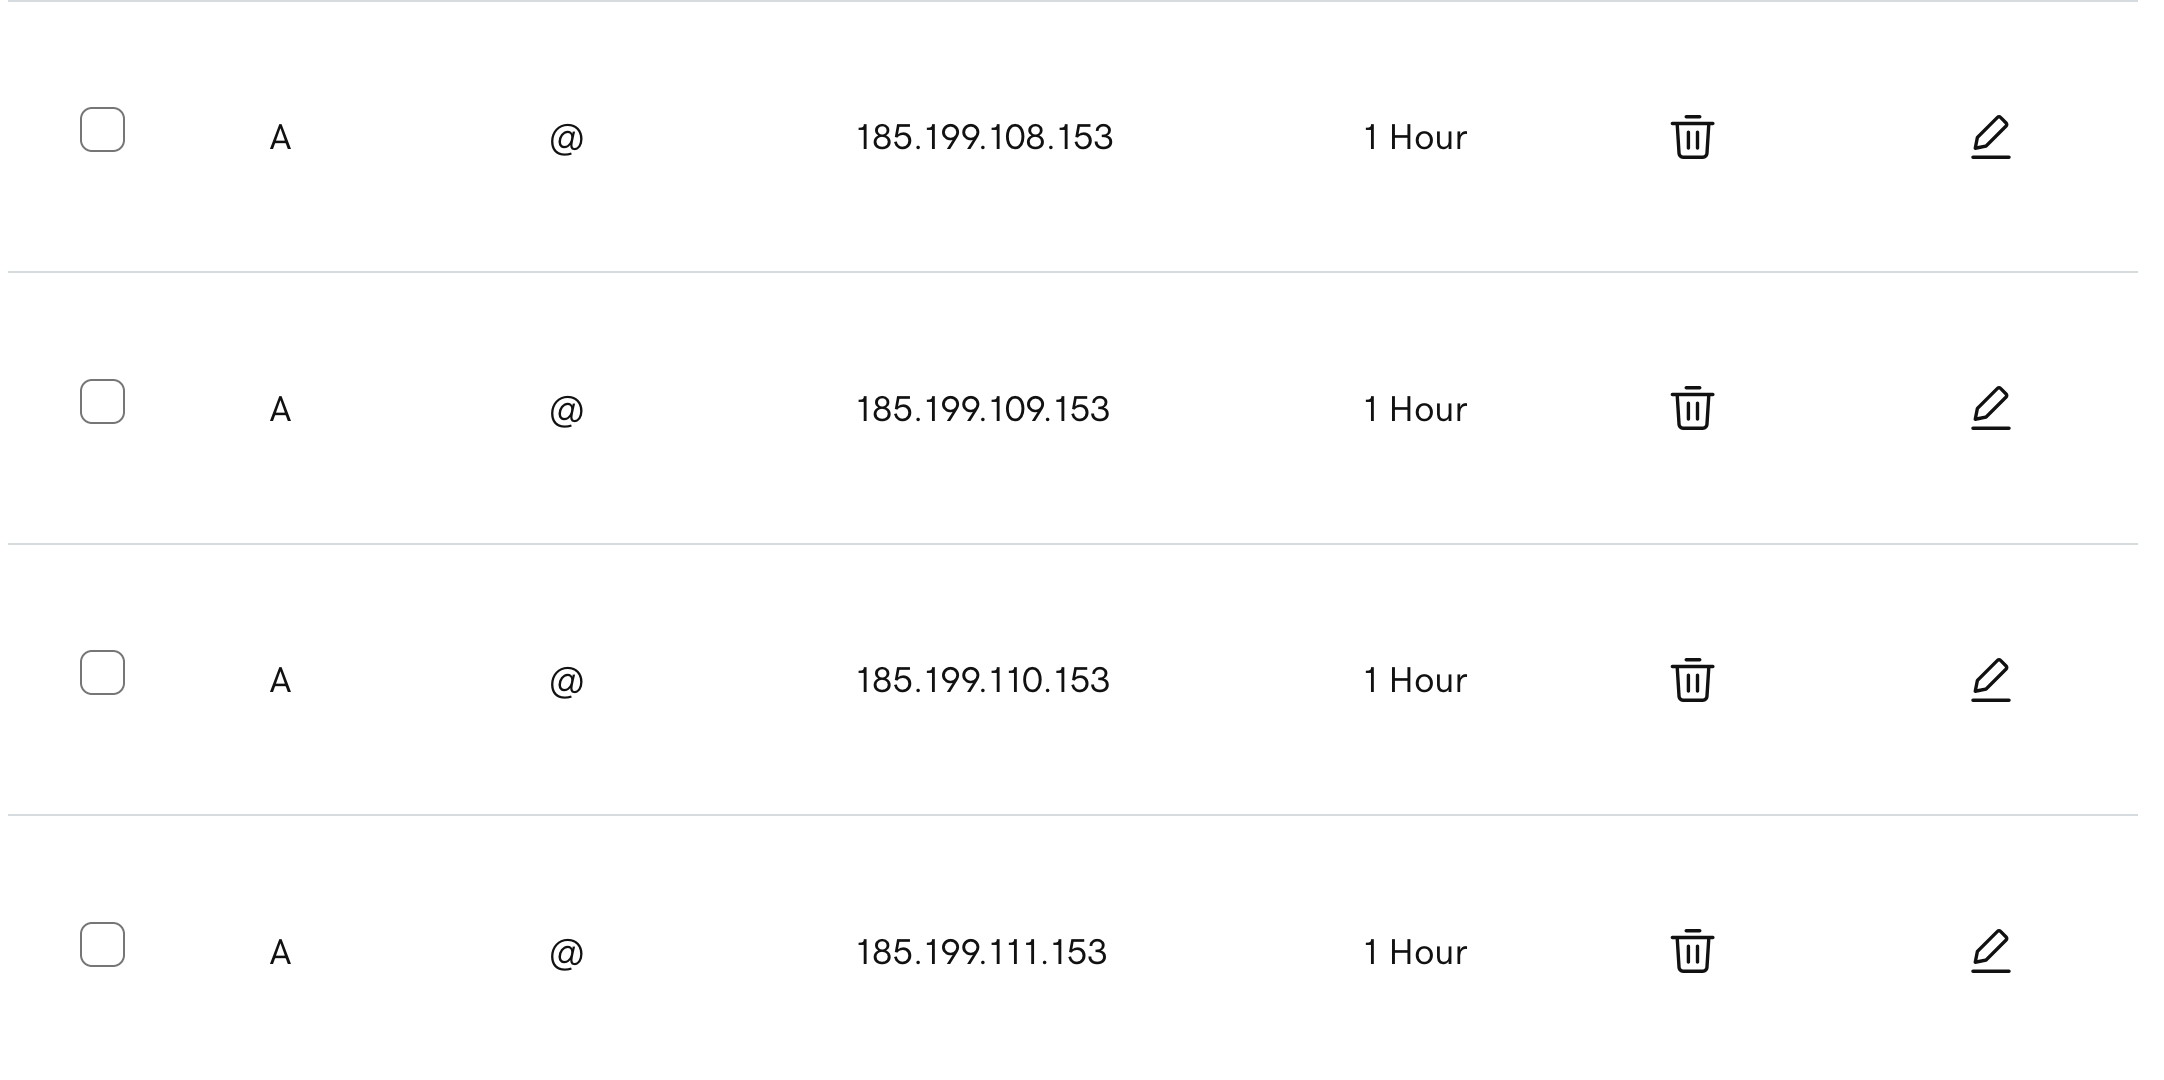
your site to GitHub Pages as a real site, but with a GitHub URL (i.e.
Leave the source as "Deploy from a branch", select the main branch, then click "Save". This will deploy
your site to GitHub Pages as a real site, but with a GitHub URL (i.e.

 Note that I'm using my GitHub username and repository name in the CNAME record.